Box kite.
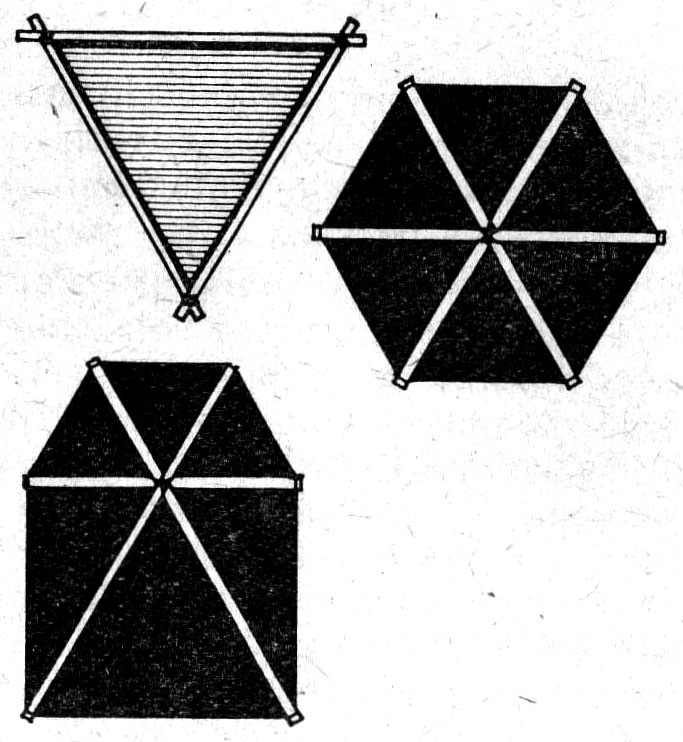
DIYers, who have already had their first successful attempts with a kite, may be tempted to make a slightly more difficult model – three-blade kite. It is built the same way, but the use of a third slat allows for a greater variety of shapes. The figure shows several three-batten kites.

Very experienced DIYers can start building the most complex model - box kite. Here is one of his types: triangular kite. Its skeleton consists of four triangles. Each triangle has one side 40 cm, and the other two after 30 cm. All these triangles are connected to each other by three slats of length 120 cm (see drawing). So to make this kite you will need them: 4 slats after 40 cm, 8 slats after 30 cm, 3 slats after 120 cm, preferably with a cross section of 8X8 mm. How to connect the slats - as before. Rectangular frame walls should be crossed with a string for reinforcement, as shown in the picture. The first and last parts of the kite are covered with wrapping paper, the middle one is left empty. The bridle is attached to the first member. It is good to make the back line of the bridle out of rubber, so that the angle of attack automatically decreases with stronger gusts of wind. This will prevent the wind from damaging the kite. The technical details are explained in the drawing.

The above-proposed DIY will keep children interested in technology, accurate and patient, attaching great importance to the precision of the work performed, likes to use some kind of pattern with her. It's worth it at age 10 if 12 years old to enroll in the appropriate interest club at school, in a cultural center or a model shop. They may also be interested in the magazine published by "Mały Modelarz", containing patterns of various models.